The Complete Guide to the Nepisiguit Mi’gmaq Trail [Updated for 2024]
Longing for a challenging adventure that will put you in touch with nature and is rich in culture? Hiking the Nepisiguit Mi’gmaq Trail is the perfect journey!
Published Mar 15
If you’re eager to take on the challenge, you’re in the right spot to find out everything you need to know about this stunning trail and be prepared for your hiking adventure. In this guide, you’ll find information such as what to pack, the many challenges and wonders of the Mi’gmaq Trail, how to prepare for your trip, and get the answers to some of the most common questions about the trail.
To make things easier, here is a table of contents, feel free to jump to the information you need!
[Nepisiguit Mi’gmaq Trail]
1. History of the Nepisiguit Mi’gmaq Trail
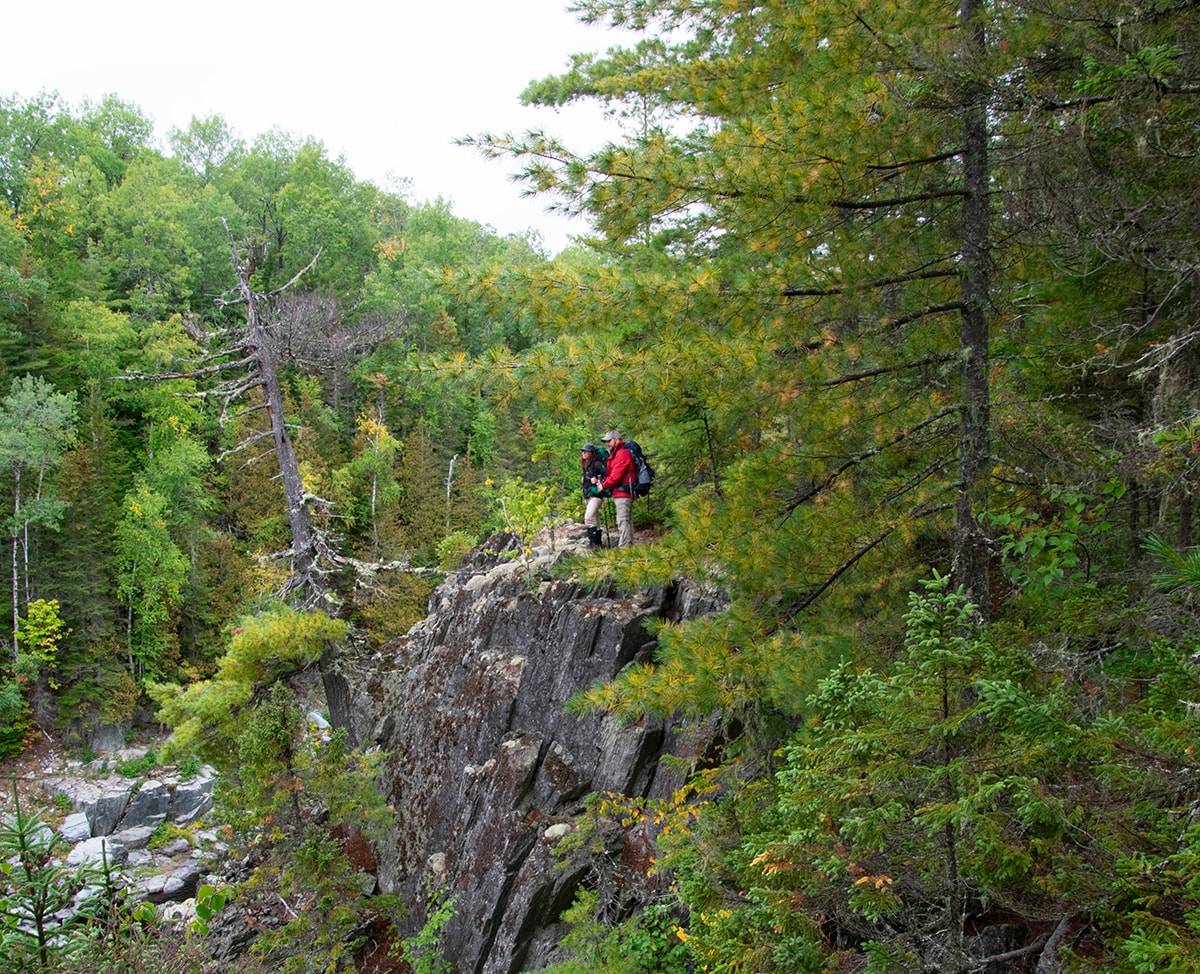
Since its official recommissioning in August 2018, the historic Sentier Nepisiguit Mi’gmaq trail has been a popular destination amongst the hiking and backpacking community from all over the Maritimes. This 150 km backcountry hiking trail has been added to the bucket lists of hikers and backpackers from near and far!
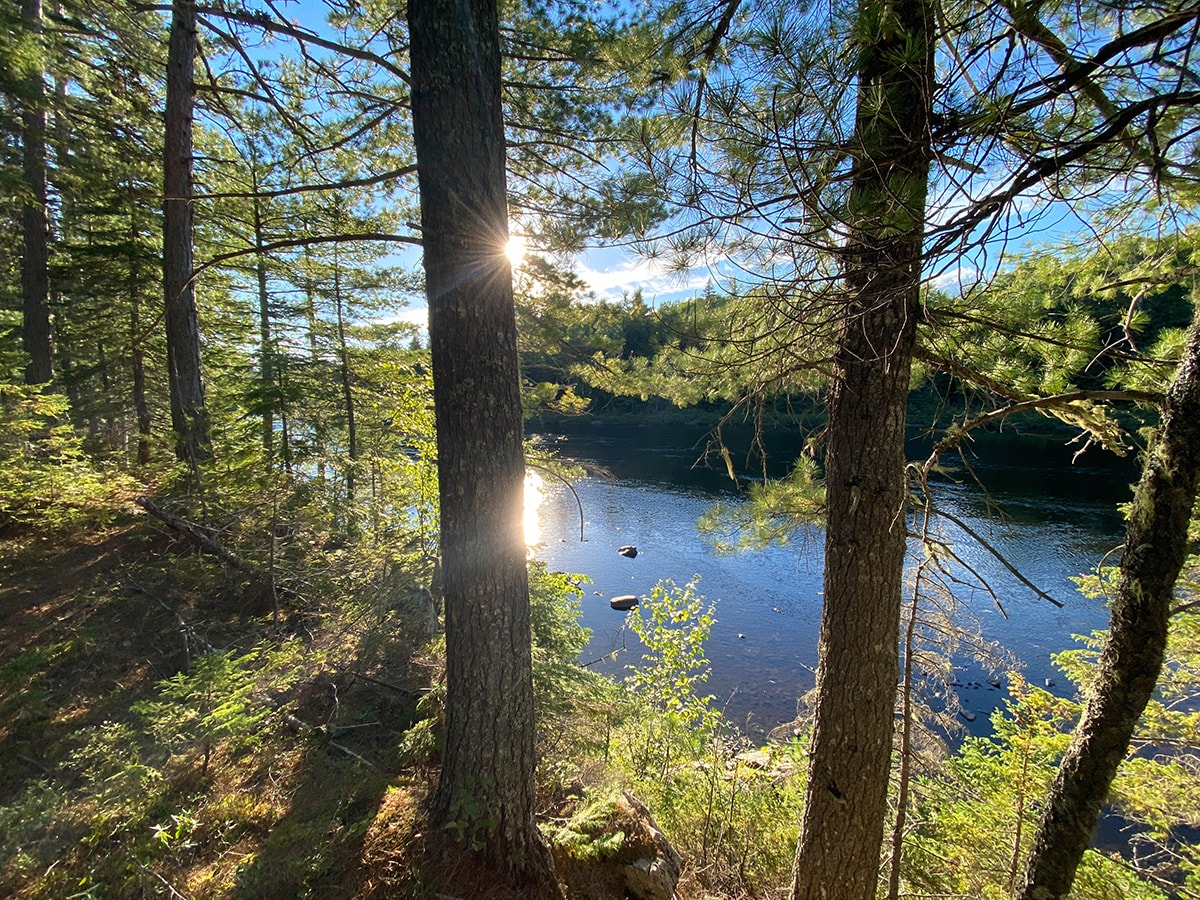
Traversing through New Brunswick’s wilderness, this historic trail is a site filled with a rich cultural heritage.
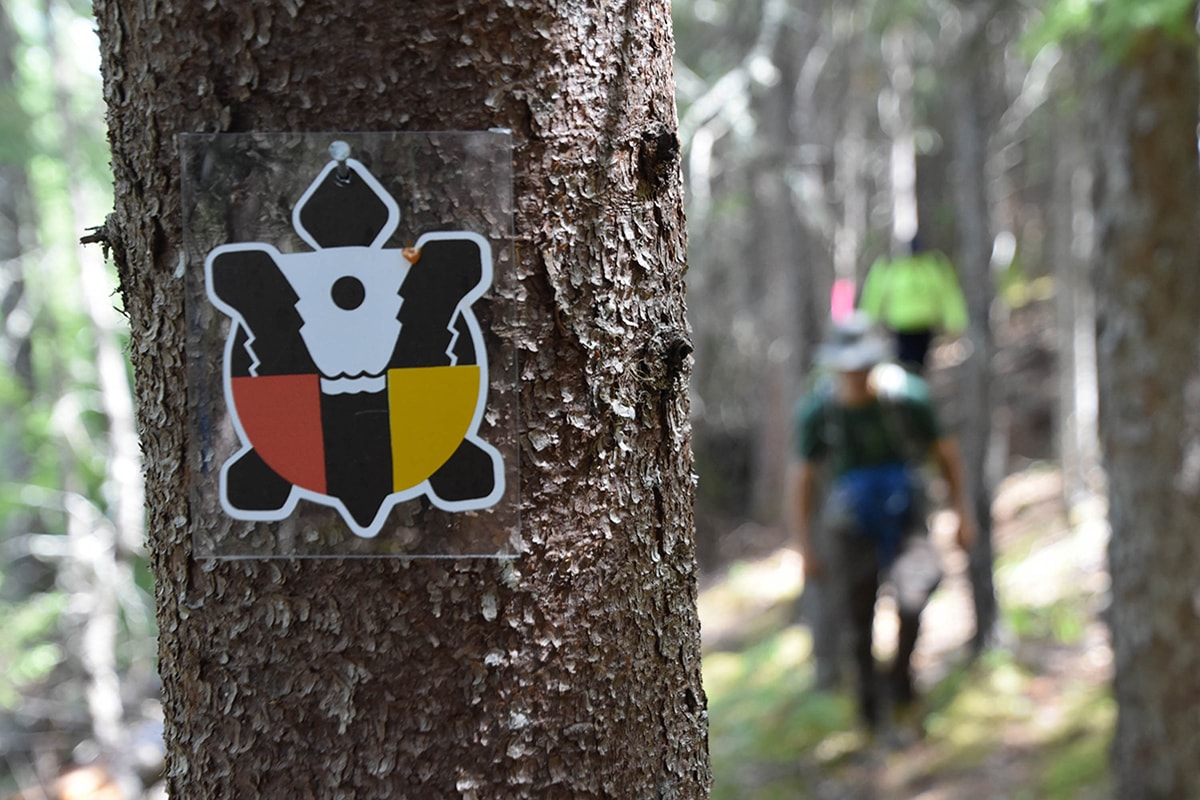
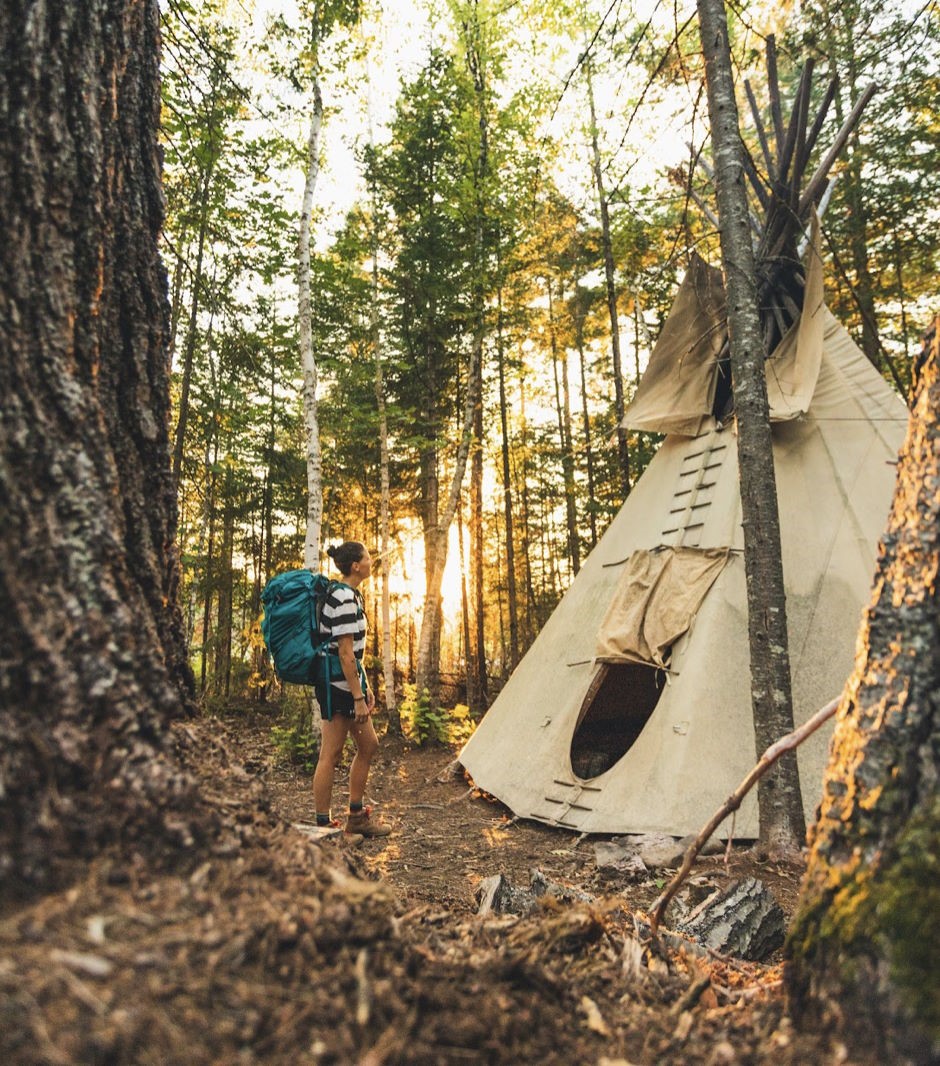
Used by the Mi’gmaq people for thousands of years, this path was once a popular location for tribal hunting, fishing, trapping, gathering sites, spring and fall migration, and was a popular spot for Mi’gmaq people to travel for interacting and trading with other First Nations communities. One of the many reasons for the restoration of this beautiful trail is to promote a public appreciation and respect for the historical, ecological, and cultural relevance of this thoroughfare to the Mi’gmaq people. Although now a hiking trail, the cultural relevance of this path has been recognized through the use of the Mi’gmaq language, cultural symbols, such as the turtle, Teepee campsites, and an ongoing respect for the land.
2. About the Nepisiguit Mi’gmaq Trail
Starting at Daly Point Nature Reserve in Bathurst, and ending at Mount Carleton, the Sentier Nepisiguit Mi’gmaq Trail is perfect for a wide variety of hikes. There are many access points along the trail that are great day-long hikes, and multi-day hikes of 2-3 days. If you’re feeling adventurous, completing the entire 150km trail will take between 6 (25km/day) to 12 days (12.5km/day), depending on your speed, weather conditions, and trail conditions.
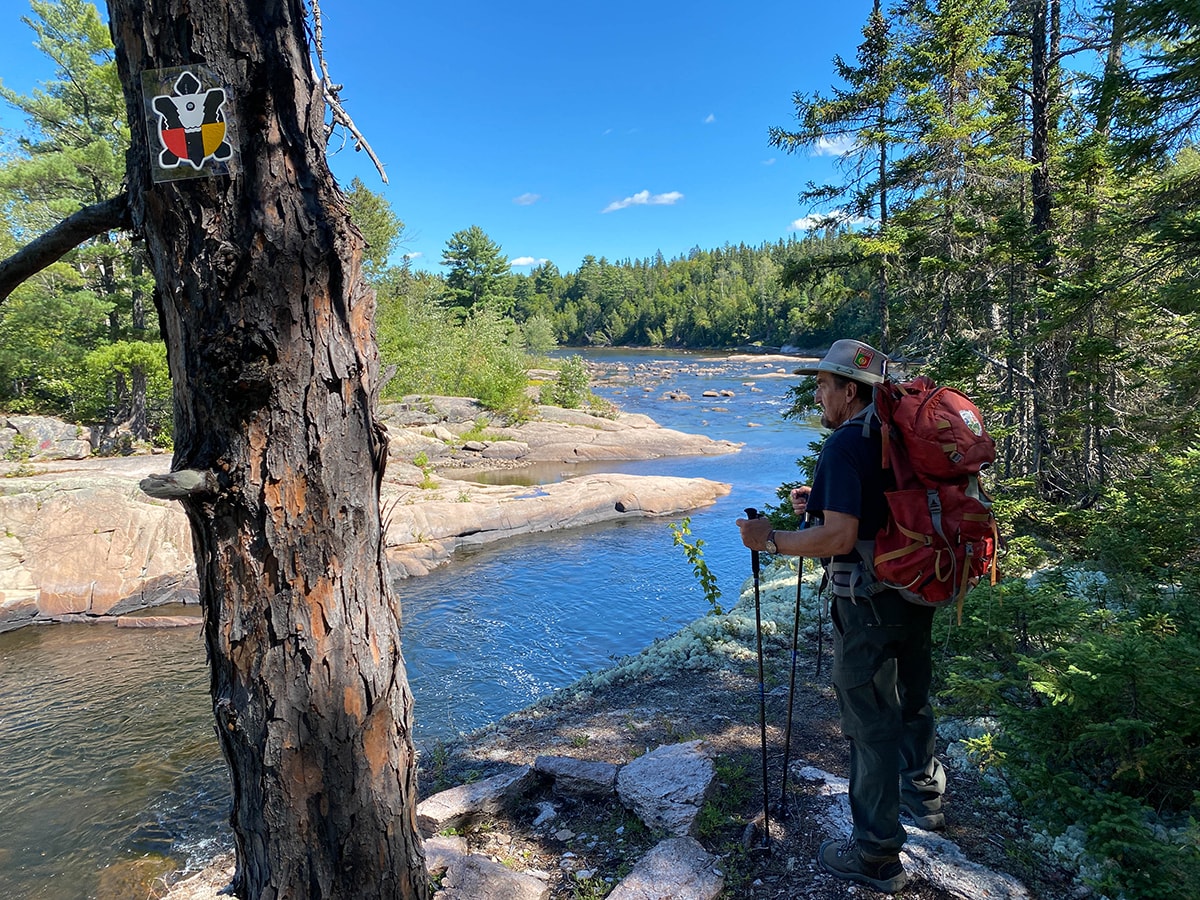
This trail is broken up into many different sections, each clearly marked by letters and a colourful turtle to let you know where you are. Each section varies in distance and difficulty level, so make sure to plan your shorter hikes accordingly!
3. Sections of the Nepisiguit Mi’gmaq Trail
The Nepisiguit Mi’gmaq Trail offers a wide range of challenges, with some sections being much easier than others. The trail has been broken down into 20 different sections categorized by letter for easier management and navigation. Explore each section below to find out more about the trail’s characteristics, and choose which hike is best suited for you.
A-B: Daly Point Nature Reserve – Pumphouse (9 km) | Difficulty: Easy
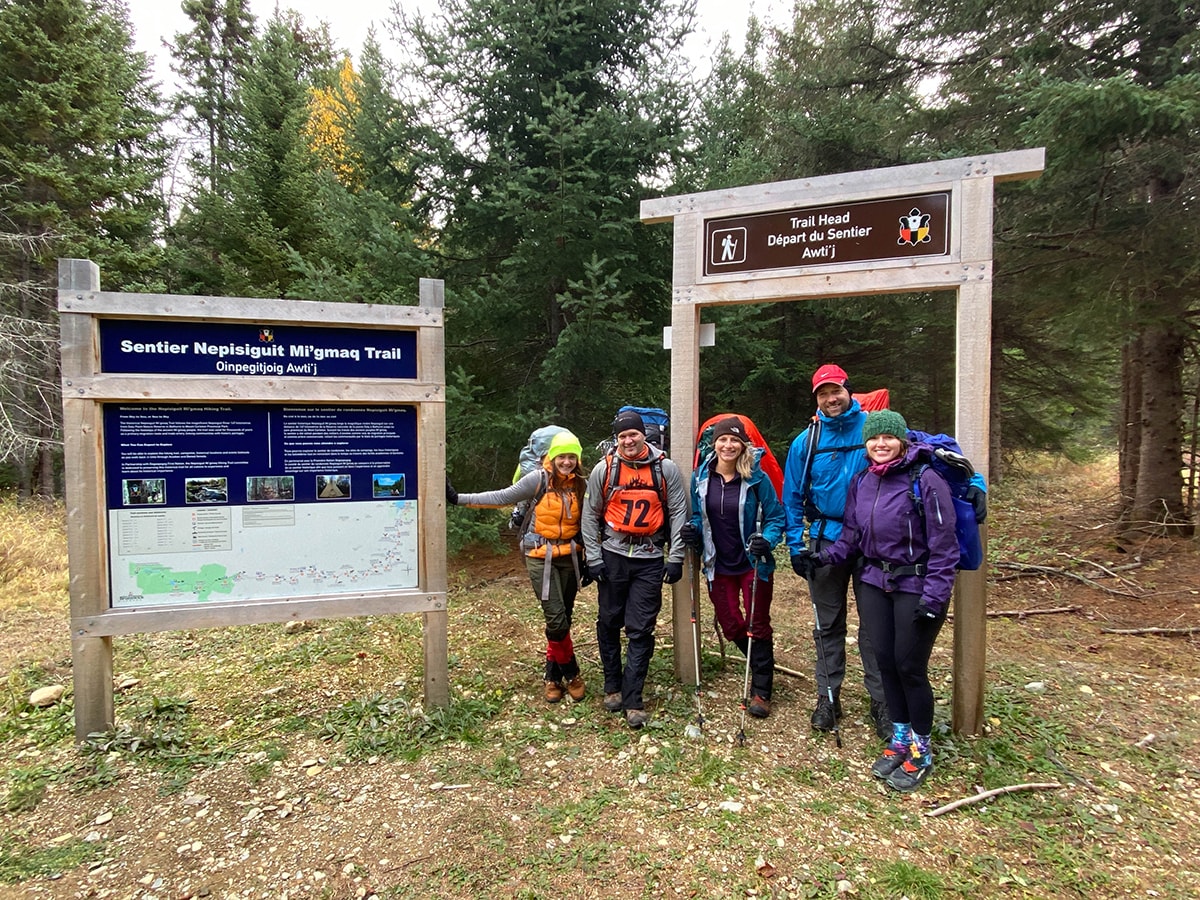
This first section of the Mi’gmaq trail begins across the parking lot from Daly Point Nature Reserve on Caron Drive in Bathurst. Look for the arch with the turtle to start your hike! This section follows other trails and streets throughout Bathurst, and ends at an old Pump-house site. (There is also parking available at Daly Point Nature Reserve at the beginning of this section!)
B-C: Pumphouse – Red Brook Road (8 km) | Difficulty: Moderate
This section takes hikers along the Nepisiguit River. It has many short ups and downs but offers amazing views of the river!
C-D: Red Book Road – TeePee Above Pabineau Falls (7 km) | Difficulty: Moderate
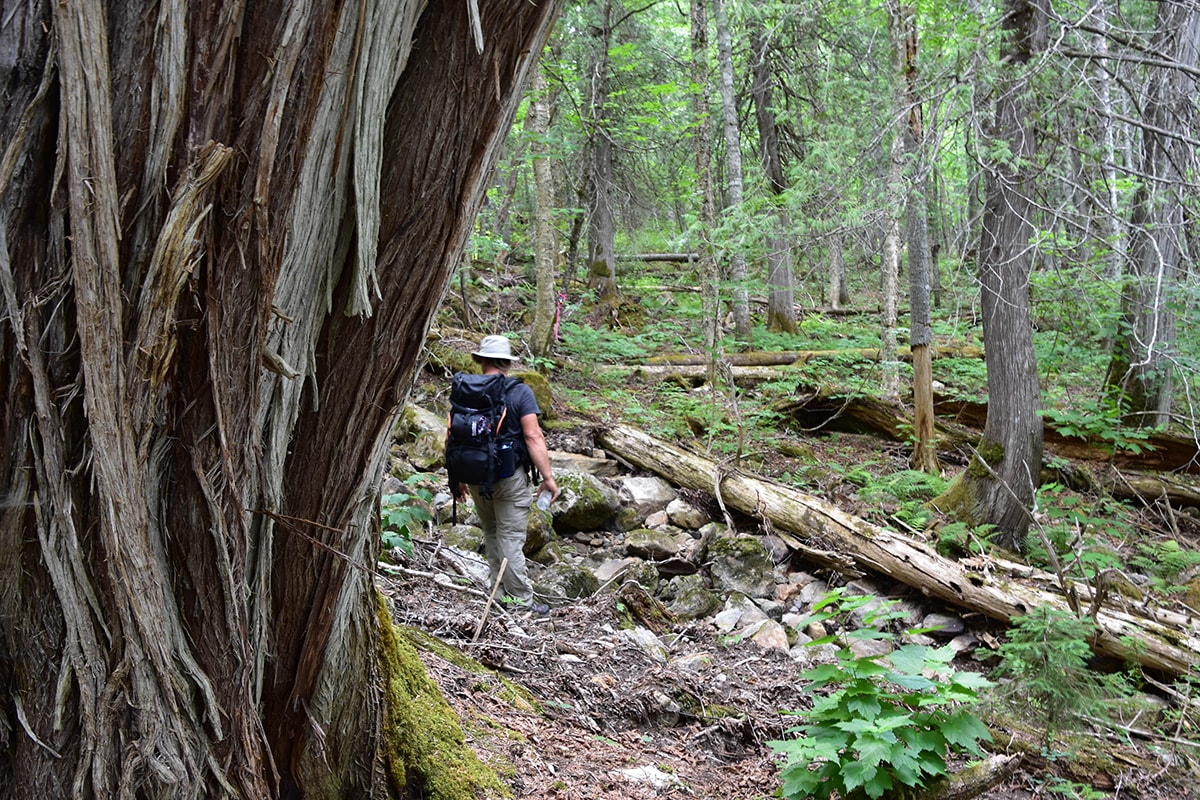
This section has an amazing view of Pabineau Falls! This is the perfect spot to sit back for a rest and take in the gorgeous views. From the falls, the trail goes through cedar patches before arriving at a Teepee by the river. *Please note that Gitpu teepee is currently out of order*
D-E: Teepee Above Pabineau Falls - Middle Landing (7 km) | Difficulty: Easy to Moderate
If you look up along this trail, you might see bald eagles circling above, or an eagle’s nest big enough to seat 4 people! This section will test your balance while you walk along the edge of two beaver dams, between dead water and the river.
E-F: Middle Landing – The Chain of Rocks (9.5 km) | Difficulty: Easy to Moderate
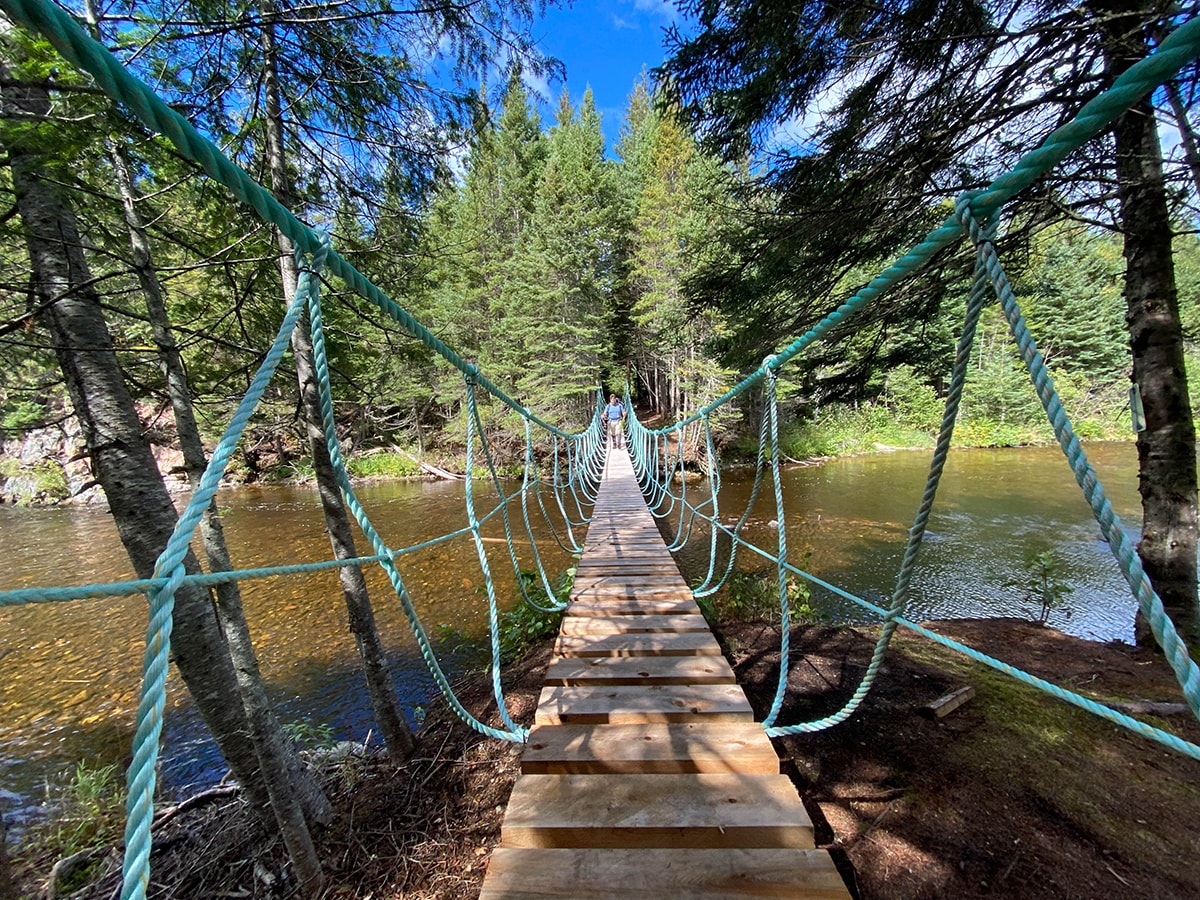
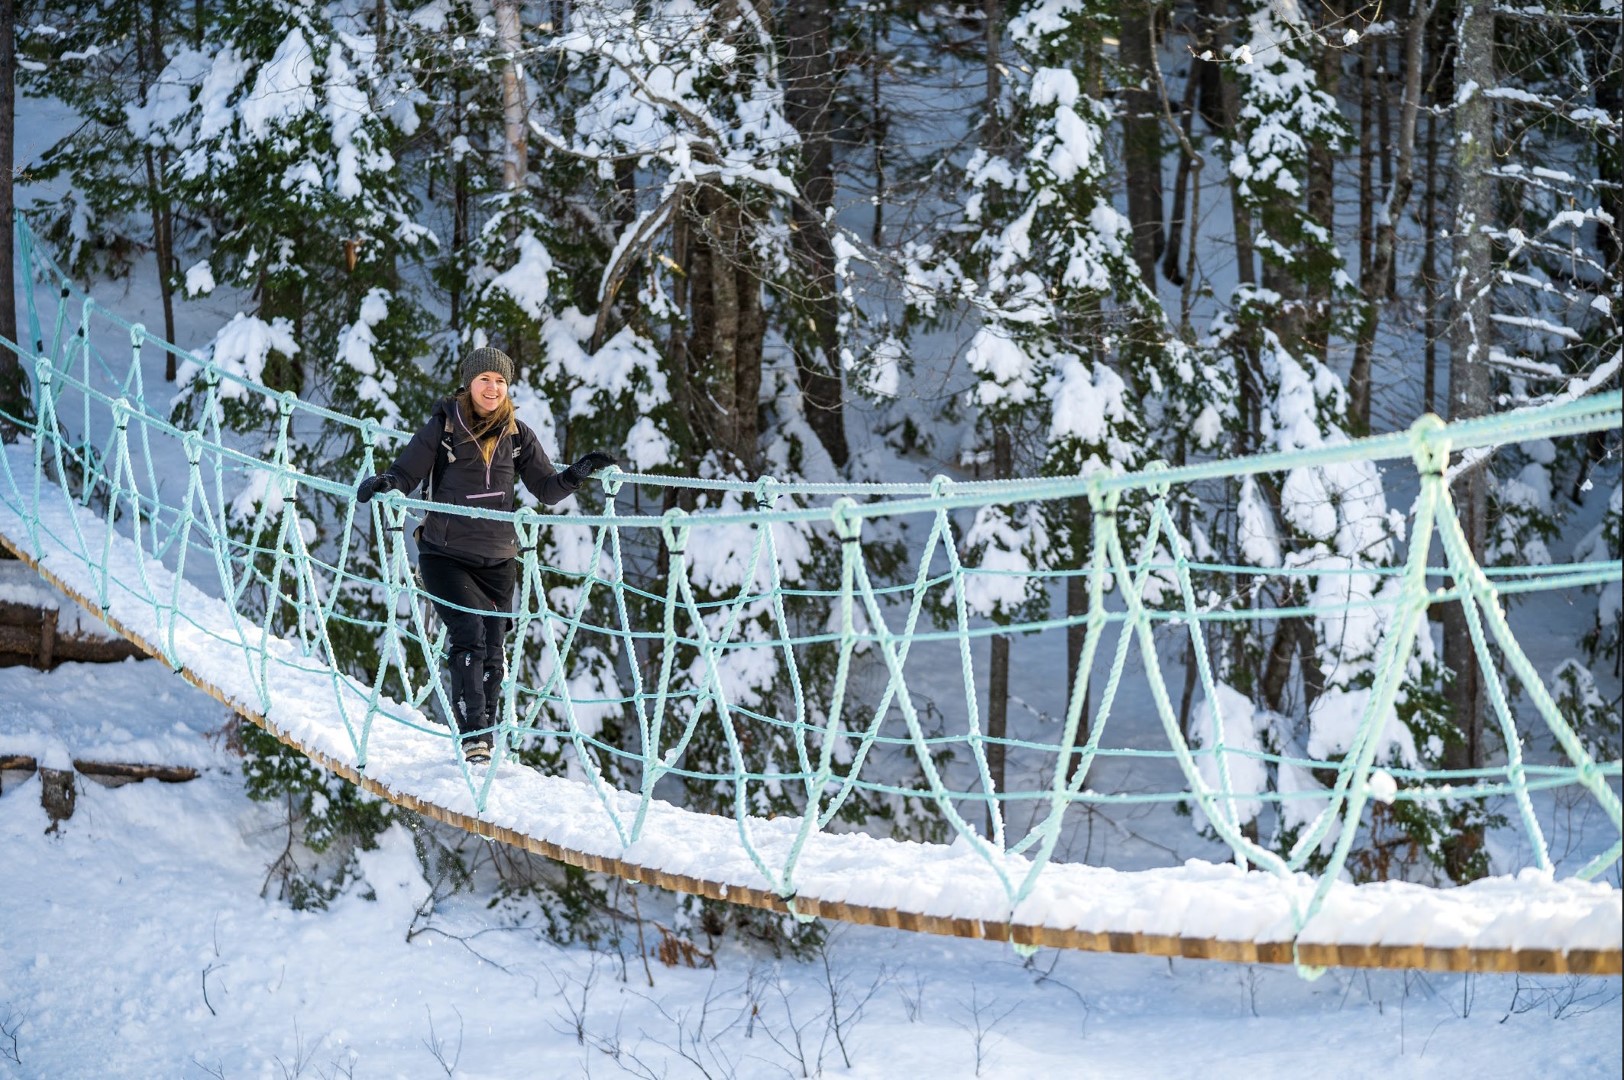
This section’s newly refurbished cable bridge has made it one of the most popular sites on the Nepisiguit Mi’gmaq Trail. It ends at a beautiful campsite with a Teepee (Interested in staying in a Teepee? More on this later!), camping platforms, and a fire pit.
F-G: The Chains of Rocks – Nepisiguit Dam (7 km) | Difficulty: Moderate
During fall or spring be prepared for the water levels to make crossing the streams along this section a bit of a challenge. Hikers completing this section will find themselves at a dam that can only be crossed from the North Side. You must ring the office for the gate to be unlocked.
G-H: Nepisiguit Dam – Above the Narrows (8.5 km) | Difficulty: Moderate
This section of the trail runs along the high banks of the Narrows, and the powerful sounds of rushing waters echoing against the high rock faces can be heard.
H-I: Above the Narrows – Above Nepisiguit Brook (4 km) | Difficulty: Moderate to Hard
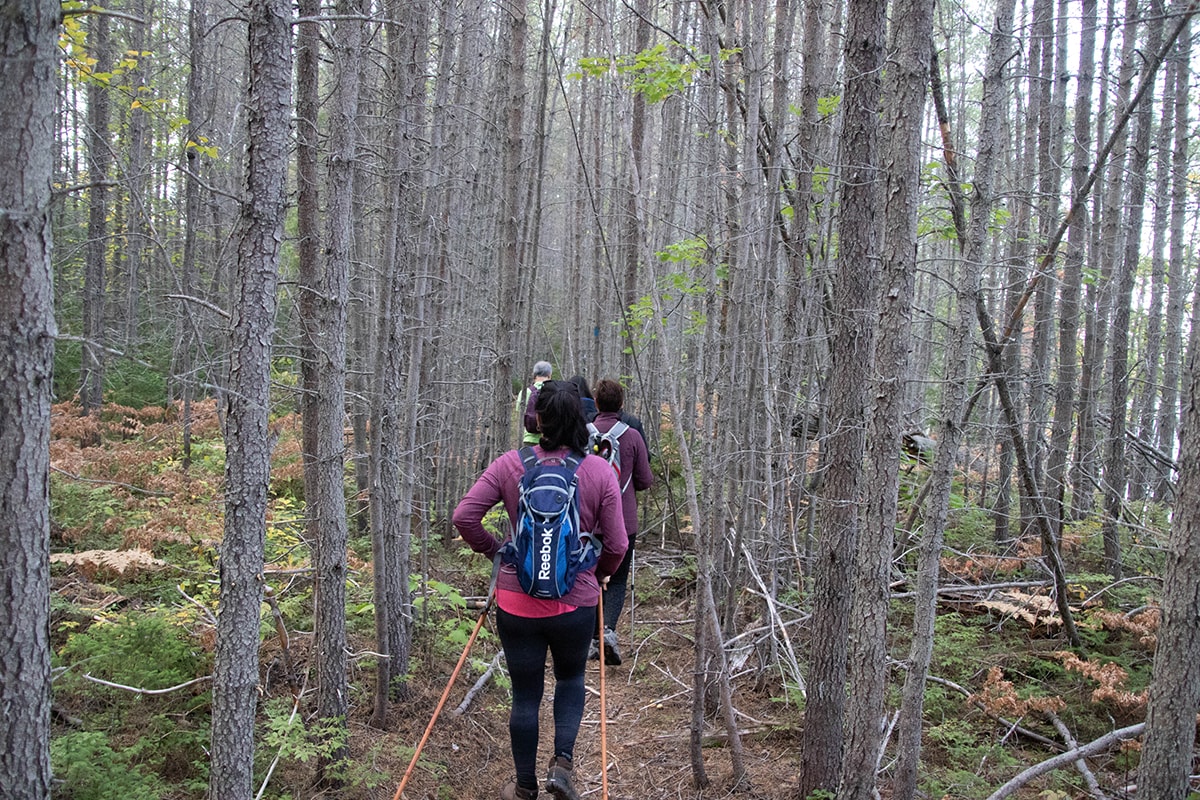
Get ready for some gorgeous forest views! This section will take you up and down the banks of the river, and through a mixed forest of spruce, pine, and maple.
I-J: Three Islands (5 km) | Difficulty: Moderate
Be prepared for many ascents and descents on this section of the trail, bringing you through valleys of maple trees and big cedars.
J-K: Across 9 Mile Brook to Coles Brook (7 km) | Difficulty: Moderate
Feeling extra adventurous? Challenge yourself with this section’s steep hills and deep brook valleys. The views, trees, and valleys make this harder hike worthwhile!
K-L: Coles Brook to Heath Steele Bridge (7km) | Difficulty: Moderate to Hard
Enjoy passing through outstanding sections of maple trees and exploring Cole’s Brook during this more challenging part of the Mi’gmaq trail.
L-M: Heath Steele Bridge to 40 Mils Brook (6.5 km) | Difficulty: Moderate
Hikers should be prepared to be extra attentive during this stretch, as there are a few gaps between big moss-covered boulders where it would be easy for a foot to slip through! Old cedars, yellow birch, ferns, and rock formations fill the landscape of this section. (Important note: This section requires a river crossing on foot to get to or from access point M).
M-N: 40 Mile Brook to 44 Mile Brook (6.5 km) | Difficulty: Moderate
Crossing Otter brook at high water levels during the spring and fall may also be difficult. (River crossing is required to reach access points M and N from this section; therefore, it is a bit of a challenge if you only want to hike this stretch).
N-O: 44 Mile Brook – Below Indian Falls (5 km) | Difficulty: Moderate
This beautiful and quiet forest that hugs the river is well worth the roots and wet spots that you will need to traverse. (If you hike only this section, be prepared for water! Two river crossings on foot will be needed at both access points).
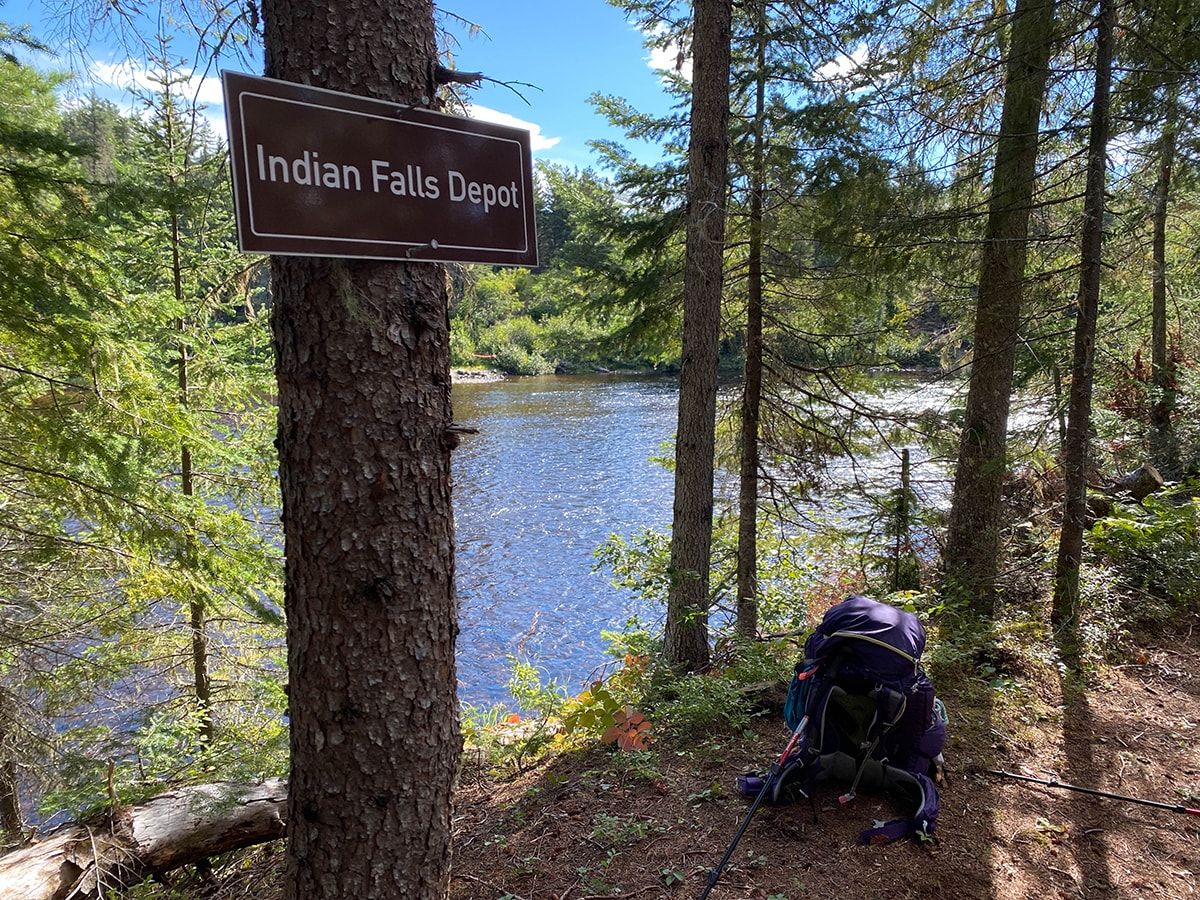
O-P: Indian Falls – Indian Falls Depot (7.5 km) | Difficulty: Moderate to Hard
This section has some impressive views as it passes through Indian Falls, a beaver pond, and the river. During the fall, high bush cranberries are easily found. (This section also requires river crossings on foot to reach both access points).
P-Q: Indian Falls Depot – Devil’s Elbow (8 km) | Difficulty: Moderate to Hard
This is one of the longest sections of the Mi’gmaq trail and offers access to one of the best side trails of the hike to Mount Denys, located approximately 1km upriver from Indian Falls Depot. (Once again, hiking only this section of the trail will require river crossing on foot to reach access points P and Q).
Q-R: Devil’s Elbow – Popple Depot (10.5 km) | Difficulty: Moderate to Hard
This is the second longest section of the Nepisiguit Mi’gmaq Trail. There are few altitude changes as it uses an old road for a 3 - 4km stretch, however, this path will have you trekking past huge trees and squeezing around large boulders. There is also a cold spring about 2-3km upriver from access point Q (this still needs to be filtered!). (River crossing on foot is needed at access point Q).
R-S: Popple Depot – Pentland Brook (9 km) | Difficulty: Moderate
Although there are many mountains as hikers make their way towards Mount Carleton, this section does not have many elevation changes. This path passes Corker’s Gulch and squeezes through Mount Latour and Mount Marie. (Be prepared for river crossings if access is needed at point S).
S-T: Pentland Brook – McEwen’s Bridge (7km) | Difficulty: Moderate to Hard
When staying along the main path, this section is quite easy. However, if you’re feeling adventurous you can explore a side trail up to Bailey’s Chasm. This side trail starts approximately half a kilometer past a small brook that is around 1km above 69 Mile Brook. Tip: It’s a good idea to regularly pole the ground with a stick before taking your next step as moss often covers cracks between the boulders.
T-U: McEwen’s Bridge – Bathurst Lake (11 km) | Difficulty: Moderate
If coming from access point T, this section brings hikers to Mount Carleton Provincial Park! Pass through a fairytale like mossy forest, then a short stroll down a service road, before reaching Camp Lake and arriving at your final destination. Want to continue your hiking adventures? Get a good night’s rest and continue by tackling Mount Bailey, Mount Sagamook, and Mount Carleton! (See our guide to Mount Carleton here!)
4. Deciding When to Hike the Nepisiguit Mi’gmaq Trail
Have you decided to come experience the Mi’gmaq trail for yourself? There are a few things you should know while you plan for your trip to make the experience the best it can be!
Trying to decide when you should hike? The trail is open year round, and each season has its own charms and challenges.
Spring | Mid-June - Early July
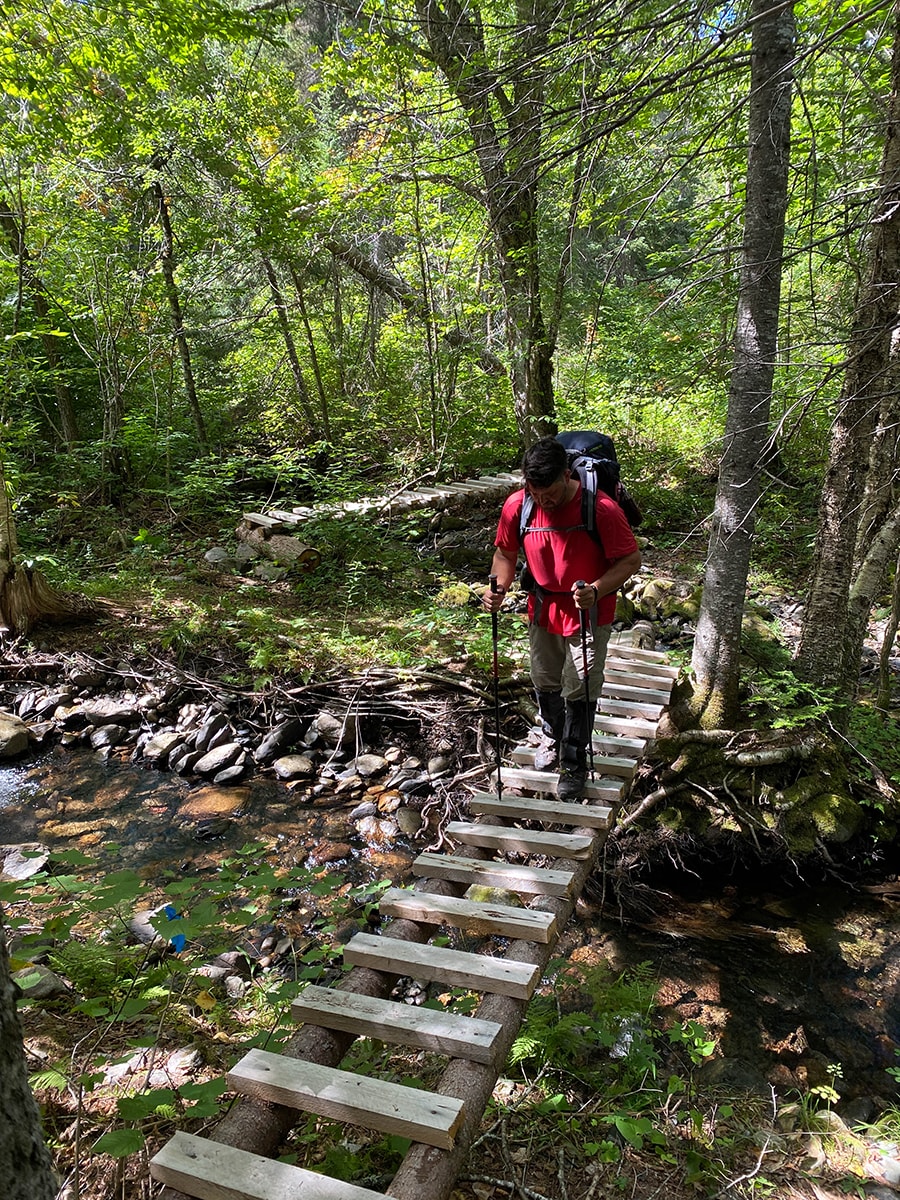
Previously, it was difficult to pass many of the 22 brooks along the trail. Now, with new bridges over most major crossings, the hiking season has been extended and it is now possible to pass the brooks while snow is melting. (There are still some water crossing challenges because the melting snow causes rising water levels, but improvements are constantly being made!)
One drawback to this season is that there are often many black flies in June. However, this is still a beautiful time to hike as long as you are well prepared!
Summer | Early July - Late August
Warm temperatures and lower water levels are characteristic of summer, and make for an enjoyable hike! However, black-flies and mosquitoes are typically out in full force during this time.
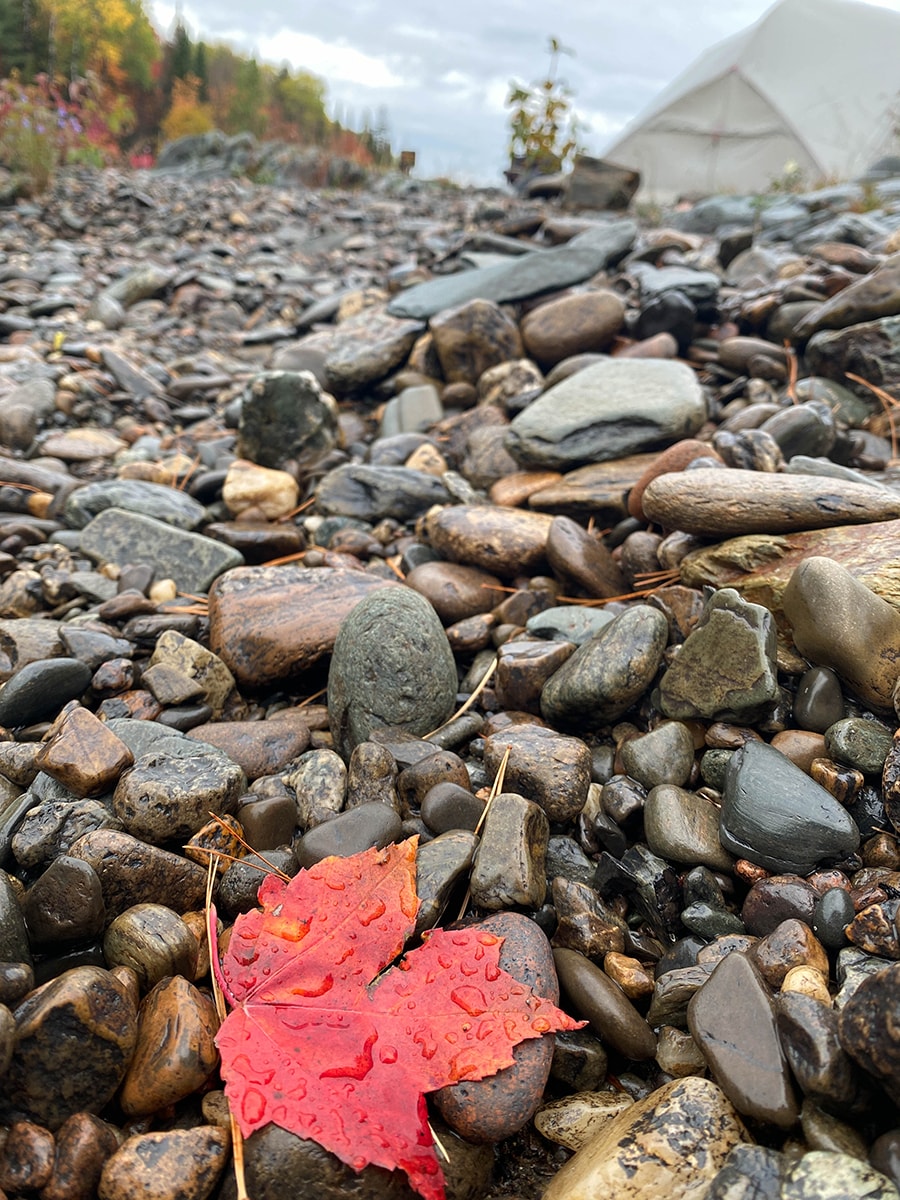
Fall | Late August - Early October
One of the major perks of the fall are the cooler temperatures, which fewer insects! For many, this makes autumn an ideal time to hike the Mi’gmaq Trail. However, wetter conditions and night frosts are a possibility later in September and October, so be prepared!
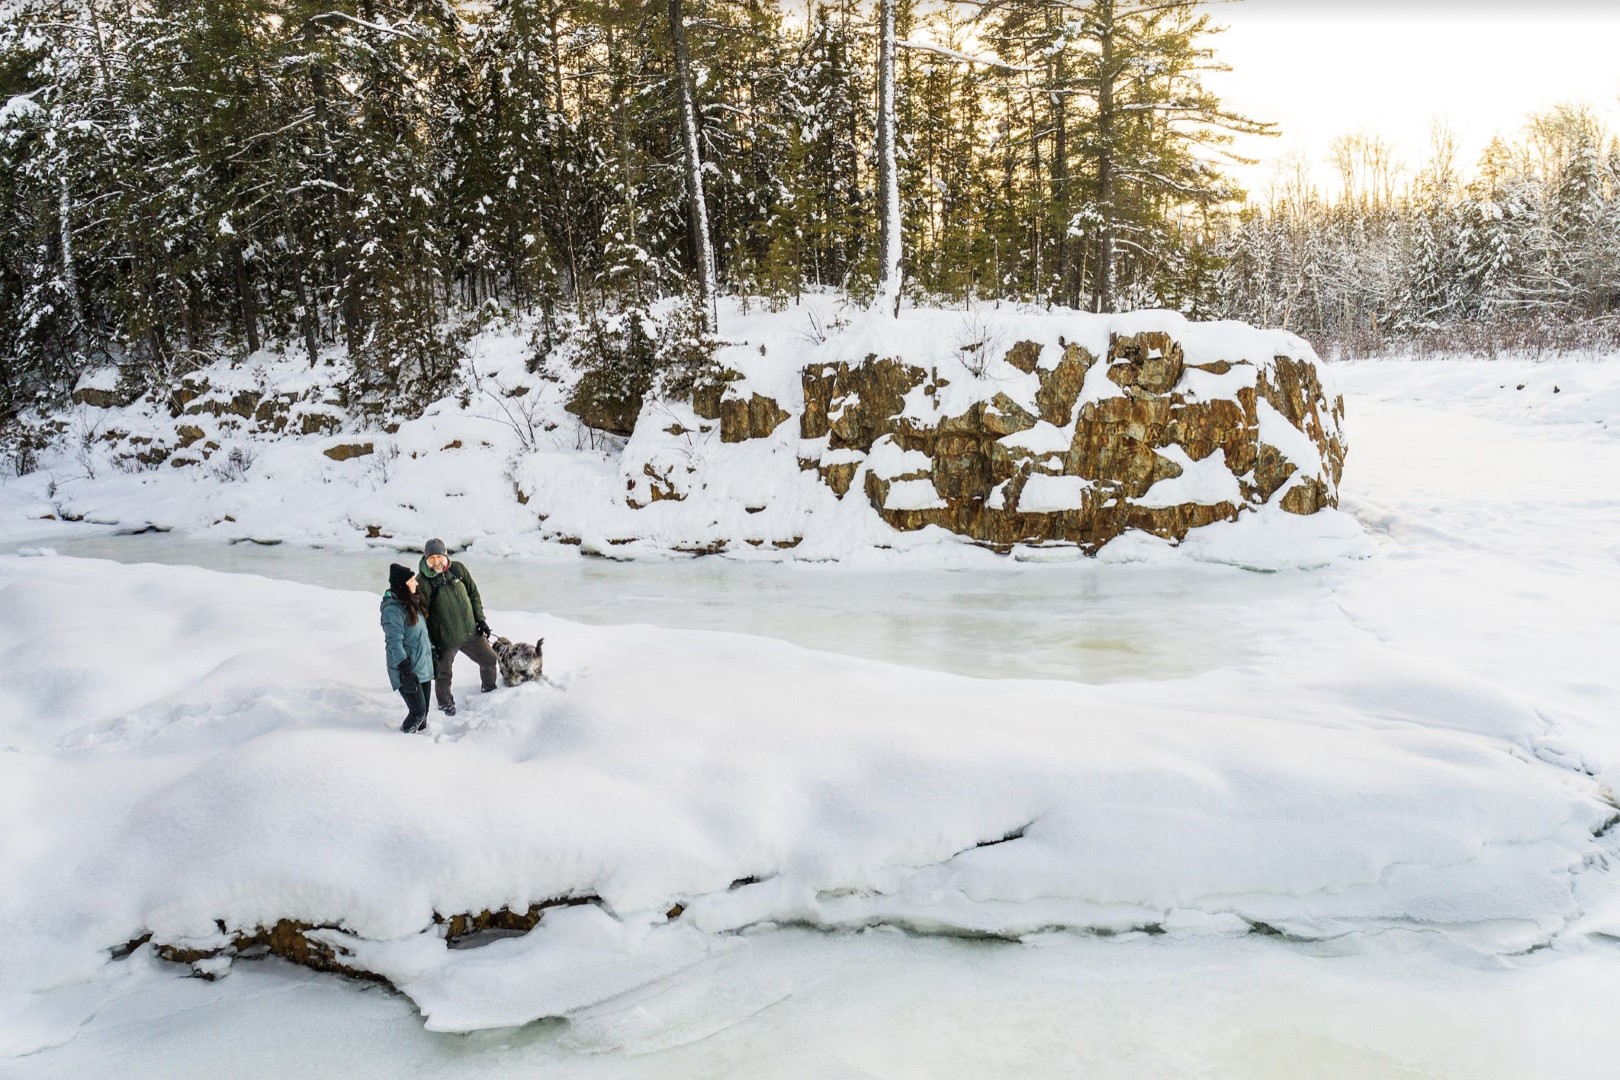
Winter | Late October - Early June
Many of the months during winter are perfect for snowshoeing! Choosing a shorter section of the trail can be a great way to spend the day out in the snow. As long as you are prepared to trek through the winter conditions, this is a picturesque time to come to the trail!
Winter comes early here in Northern NB and stays late in the spring. It is important to check weather and trail conditions before you plan your hike during winter and early spring season.
5. Choosing your Hike along the Nepisiguit Mi’gmaq Trail
Thinking of taking a multi-day hike along the Nepisiguit Mi’gmaq Trail? This type of challenge should only be attempted by experienced hikers. This is especially true between sections R (Popple Depot) to G (Nepisiguit Dam) as the trails here have a higher difficulty level. Novice hikers are best to stick to day hikes and choose their section accordingly based on the difficulty level. Be realistic about your skill level and you’ll have a much more enjoyable time.
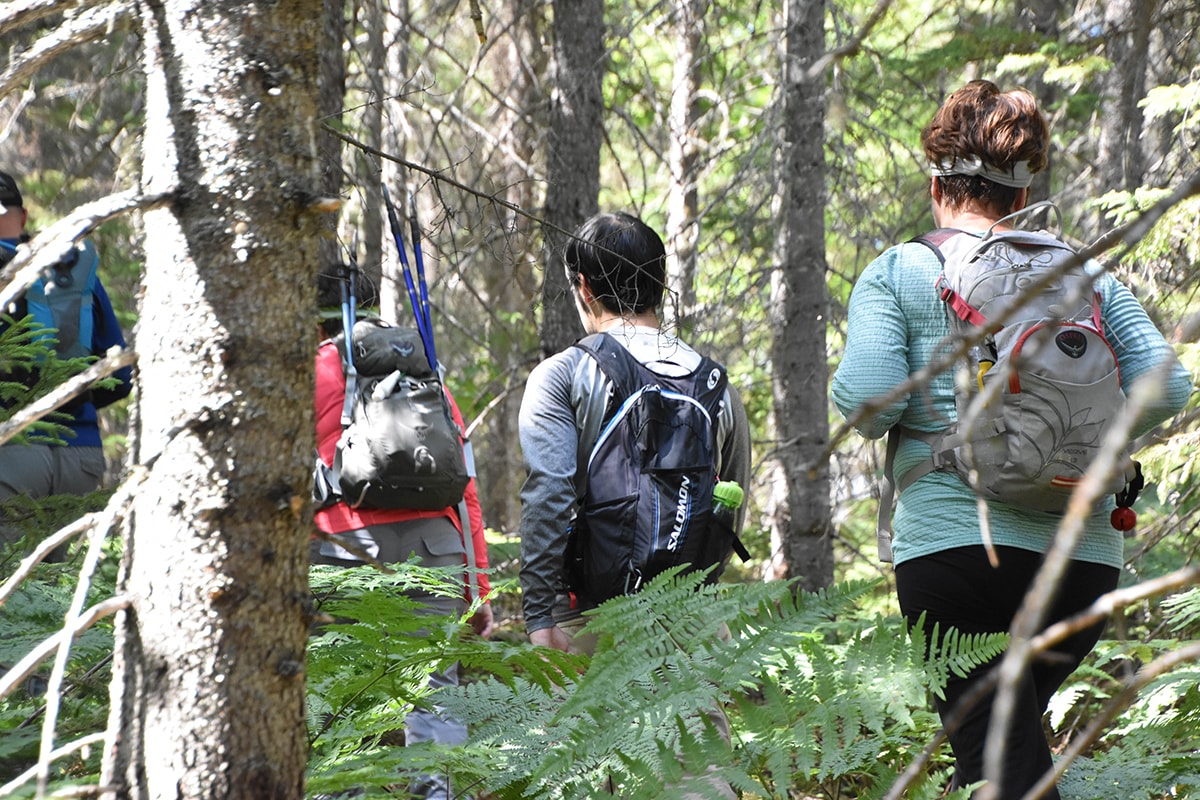
Furthermore, individuals who have previously injured their ankles, knees, back, or other joints should be wary as they may experience flare ups while hiking. Testing your strength and endurance by taking shorter, less demanding backpacking trips is a good idea before you attempt to hike the full length of the Nepisiguit Mi’gmaq Trail! It is also better to hike with others! Not only is it more fun to share the adventure with a partner or a small group, but it is also safer.
6. Staying Safe on the Nepisiguit Mi’gmaq Trail
Hiking the Mi’gmaq trail is a breathtaking adventure, however, as is the case with any backcountry hiking trail, there are a few things to take note of so you can stay safe during your trip.
Firstly, there is almost zero cell phone service along this hiking trail. This is great for being in touch with nature, but there are a few things to consider so you can stay safe during your adventures. If a crisis is to occur and you can get in contact with emergency services, it could take up to 24 hours for help to be able to reach your location. Therefore, it is best to hike in groups, and to be prepared by having a first aid kit and someone in your hiking group who knows first aid.
Both multi-day hikers and thru-hikers are required to register their hike via the Mi’gmaq trail website. For safety reasons, and due to the remoteness of the trail. It is essential to have a hiking plan, emergency plan, and to let trail management know when you are leaving and when you are expected to return and from what locations. There are now several wooden boxes along the trail with a book where multi-day hikers are asked to fill in the requested information (like their name, date, etc.) This helps the trail crew know where hikers are and can be used in the event of an emergency.
It is also a good idea to prepare a trip plan before embarking on your hike and leave it with someone you trust, like a friend or family member. Write out where you are going, who you are with, when you plan to return, and what to do if you are not back by a certain date.
All emergency requests should be directed to the Bathurst detachment of the RCMP, who will coordinate all responses and activate Search and Rescue Operations. Their contact information is:
Bathurst RCMP,
900 Vanier Blvd,
Bathurst, NB E2A 3N2
Phone: (506) 548-7771
The Mi’gmaq trail has clear markings all along the path, however, it is still recommended that you come equipped with a GPS and a SPOT or INREACH device. Be sure you know how these devices function and have tested them prior to hiking the Mi’gmaq Trail.
First and foremost, hikers must study the maps before leaving so you know where you are going. It is also important for hikers to monitor their position on the trail regularly; this is a simple way to keep yourself on the right path! This can be done with a map, compass, and GPS. In order to take the proper trail, make sure to take the time to look for the turtle sign each time you arrive at intersections, diverging roads, sharp turns, or areas with intersecting flagged trails!
The lettered sections along the Mi’gmaq Trail are the best way to keep track of your location or plan the length of your hike.
There are a few notable sections to point out: Access points R, L, & E are the easiest along the trail to exit because these trails cross roads with vehicle traffic. On the other hand, exiting via Access Points T, S, Q, P, O, N, and M require wading across the Nepisiguit River which in the spring and fall can be impossible as the water levels are high and temperatures are cold. Finally, access point D is only for emergency access as it involves crossing the Nepisiguit River which is too deep to wade.
Maps of the Nepisiguit Mi’gmaq trail are available online, or a physical (and of course waterproof!) copy can be ordered from Explore Everywhere Media (https://www.exploreeverywheremedia.com/collections/maps/products/sentier-nepisiquit-migmaq-trail-map) .
7. Staying Safe with Nature along the Nepisiguit Mi’gmaq Trail
Water: Be sure to bring some H20! Staying hydrated during your hike is crucial, however, come prepared because hikers should assume that all water along their journey is non-potable. All water that is going to be used for drinking should be purified, boiled, or filtered. Even though the Mi’gmaq trail is always in close proximity to the Nepisiguit river, it is often extremely difficult or impossible to access. Stock up on water and be prepared for stretches of 4 or 5 km without access.
Fire: For the safety of hikers, and the wilderness, open fires are prohibited. Forest fires are too great of a risk and the gathering of firewood is very destructive. The use of rocket stoves is permitted.
Wildlife: As this is a backwoods trail, it is shared with a wide variety of wildlife. Hikers will traverse through habitat that is frequented by animals such as lynx, deer, fox, beavers, and many more! To keep yourselves and the wildlife safe, there are a few simple things hikers should do.
Firstly, animals and flies are attracted by smell. Therefore, never leave or bury and food! Instead, store everything that might attract animals, including cooking utensils, in a bag and hang it over a tree branch far enough from your tent, and at least 10 feet off the ground. Hikers should also use soaps, deodorants, and shampoos with no scent.
Important note: When you hike, take nothing but photos, and leave NOTHING but footprints behind! Stay along the marked trail and leave the foliage as is so it can be enjoyed by everyone. You must carry out anything you bring in (Yes, this includes leftover food and toilet paper!).
8. What to Pack for the Nepisiguit Mi’gmaq Trail
Depending on how long your hike is, you’re going to need some supplies!
As a rule of thumb, your pack should weigh no more than 30% of your body weight for men, and 25% for women. Pack your bag earlier than your hike so you can test it out to be sure it isn’t too much. It is also a good idea to minimize packaging, so you have less garbage to bring back. Be realistic – every ounce counts! It is also important to bring extra food in case you get delayed, and quickly have the ability to prepare hot meals and drinks. Be sure to test all your equipment before you leave.
When deciding what to bring, your main concern should be to keep yourself warm and dry. Pack with cool and wet conditions in mind and choose equipment and clothing that are high quality. Wool and synthetic clothes are best as they provide warmth when wet. Cotton clothing is not a good choice! Also, don’t break in new hiking boots! Blisters are not fun, so this is a hike where it’s best to wear hiking boots that have been through many hikes and are prepared.
As a starting point, here are a few must-haves for your hike:
- A detailed hiking plan
- Good hiking boots
- Hiking poles
- Food to last longer than the planned duration of your hike
- Water filtering system
- First-aid kit
- Previous knowledge of the trail and its terrain
9. Camping on the Nepisiguit Mi’gmaq Trail
If you’re embarking on a multi-day hike, the Mi’gmaq Trail is a great place to camp! Hikers can bring their own tent and set up at one of the designated camping spots and platforms. There are five specified camping sites along the Mi’gmaq trail: Gitpu (Eagle), Plamu (Salmon), Geonig (Otter), Tiam (Moose), Gopit (Beaver), and Muin (Bear). Each of these areas has three platforms that are perfect for setting up your tent. There is no longer a system to reserve the teepees or platforms. It's now working on a first come, first served system. Please be courteous with your fellow hikers.

It is important to note that there are no platforms from access points L to U. Hikers are asked to find suitable places to set up their tents, and leave no trace of their stay when packing up and leaving in the morning!
For an even more authentic camping experience, you can sleep in a Teepee on each of the campsites. There are five tepees available, but no reservation system is in place.
(Please note: A separate registration must be filled out to do a multi-day hike on the trail -- keep reading to find out how!)
10. Registering for your Hike of the Nepisiguit Mi’gmaq Trail
Ready to adventure through the Mi’gmaq Trail? Before you embark, all hikers doing a multi-day hike or thru-hike must fill out a registration form. This process helps to keep you safe during your adventure and will also help support the trail system. Visit the Mi’gmaq Trail website (https://www.migmaqtrail.ca/en/registration_form) to complete this step. All fees go back to trail maintenance to help improve and upkeep this beautiful path! (Remember that reserving a campsite spot is a separate reservation that must be done at https://parcsnbparks.ca/Nepisiguit).
11. Getting to the Nepisiguit Mi’gmaq Trail via the Chaleur Region
Before you embark on your journey through nature, it’s best to stock up on food, water, and gear while you’re in the Chaleur Region.
If you’re starting at Daly Point Nature Reserve, you will be in close proximity to Bathurst’s many shops and restaurants.
If you choose to start at Mount Carleton, you’ll be 43km away from the nearest community.
To get to Mount Carleton, drive (get a ride from a friend, or use the shuttle service offered by People’s Taxi!) going west on route 180 from Bathurst (~113km), then turn onto route 385 for 9km to arrive at Mount Carleton Provincial Park where the entrance is on the left side! Once arriving at Mount Carleton, cell phone service is often unavailable, so be prepared to be unplugged right away.
12. Nepisiguit Mi’gmaq Trail FAQ
Yes! As long as your furry friend is well trained and capable, they are welcome as a hiking companion! We recommend bringing your pet along for shorter and easier hikes.
However, be aware that the owners of domestic animals are responsible for cleaning up after their pet.
Section E-F is a popular destination because of its newly refurbished cable bridge! There is also parking available on either side of the Middle Landing Bridge.
The Nepisiguit Mi’gmaq Trail is a great location for camping! There are campsites at or near access points with tent platforms and Teepees available. Other than this, it is recommended to camp on flat well drained ground which can be found near McEwan’s Bridge (Access Point T), Popple Depot (Access Point R), below the Heath Steele Bridge (Access Point L), and at Middle Landing (Access Point E). Aside from these locations, hikers must find their own spots to stay overnight on the trail. Do not wait until the sun is setting to decide on a campsite! This is a decision best made while there is still sunlight.
If you wish to camp in a campground or in a teepee, please note that there is no longer a reservation system. So, first come, first served! Be courteous to other hikers.
If you are planning on taking a multi-day hike or a thru-hike, you must register for your hike on the official Nepisiguit Mi’gmaq Trail website here (https://www.migmaqtrail.ca/en/registration_form). Completing this registration helps keep you safe during your hike by providing information about who is present.
Campsites are a separate reservation that must be made on the Parks NB website by choosing “Backcountry” as your reservation type (https://parcsnbparks.ca/Nepisiguit).
There is a $25 fee upon registration for multi-day hikers on the Nepisiguit Mi’gmaq Trail. This fee goes straight back into upkeep and improvements for the trail. More information is available HERE.
Over 80% of the Nepisiguit Mi’gmaq Trail has zero cell service, so no. Hikers should not expect cell service during any part of their hike and should plan accordingly.
Along the trail, there is a bear-proof box with camera surveillance for hikers who do not want to carry all their food for their entire hike. This box is intended as a place to drop off food prior to hiking, then to be picked up when you reach the location during your hike. The location of this box will be given upon registering for your hike.
Maps of the Nepisiguit Mi’gmaq trail are available online, or a physical (and of course waterproof!) copy can be ordered from Explore Everywhere Media (https://www.exploreeverywheremedia.com/collections/maps/products/sentier-nepisiquit-migmaq-trail-map) .
Fire have been banned along the Nepisiguit Mi'gmaq trail and at campsites.
There is practically no cell phone service along the Mi’gmaq Trail, therefore you must be prepared to deal with emergency situations. If emergency services can be reached, it could then take up to 24 hours for help to arrive. Therefore, it is crucial that you have a first aid kit, and that someone in your hiking group knows first aid.
Emergency requests should be directed to the Bathurst detachment of the RCMP. Their contact information is as follows:
911
Bathurst RCMP,
900 Vanier Blvd,
Bathurst, NB E2A 3N2
Phone: (506) 548-7771
- 911 is quick to dial and remember. Upon calling, calmly explain who you are and where you are located.
- When making your emergency action plan before your hike, it is important to know the map, roads, and access points in order to help you direct emergency response personnel as close as possible to your location. Also, an emergency Spot, or similar device, can help save your life depending on the severity of the emergency!
13. Conclusion
Ready for one of the most callenging but rewarding adventures of your life? We can’t wait for you to experience all that the Nepisiguit Mi’gmaq Trail has to offer! Whether you choose a shorter hike, or decide to tackle the complete 150 km, every step will be rich in history and filled with breathtaking views.
Enjoy your hike along the Nepisiguit Mi’gmaq Trail and all the adventures and experiences that await you in the Chaleur Region!
Get ready to feel connected with nature like never before.
Take your time. Fall in love.
Embrace the vibe
Plan your trip in the Chaleur Region with our FREE Travel Guide. Follow us on Facebook and Instagram for more great stories!

![7 Beaches that are Worth the Trip [Updated for 2025]](/uploads/blog/40/image/medium_beachesresized.jpg)